some wise words on photography (not mine!)
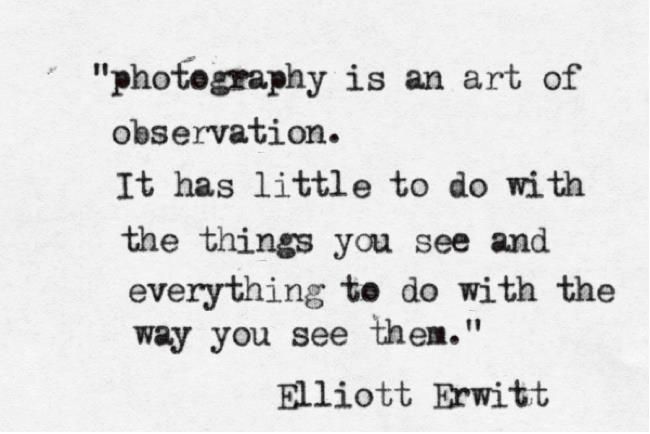
I found this quote while browsing Pinterest yesterday and I had to share – I love it! It really sums up how I feel about photography and it’s great when you find something that captures a thought so perfectly. *apologies for not crediting this image, I couldn’t trace it back to the original source so if anyone does recognise it, please let me know*
How to properly put together a DSLR Camera
Just a quick how to video on properly putting together your DSLR Camera. This video will show the proper steps to assemble the camera, making sure not to break it in the process. This may sound like an easy how to; but in fact I myself had trouble putting my camera together for the first time. One may not realize the little things that make it run smoothly, affectively and fast. Fast is one of the strongest words the one can use in photography; one must be able to assemble as fast as possible and be ready to shoot. Each moment a person wastes not knowing the proper procedure is a moment that may be taken away from a client, or even a moment that you (as the photographer) may have missed in capturing a “feeling” in the photograph. Just a few couple steps to remember, have a wonderful day and shoot some more photos! 🙂
Normal Lens

A normal lens will be your basic lens that most photographers start out with. This lens will give a field of view that appear natural to the eye of the viewer. Long or short lenses would be expanded, therefore being distorted from the “normal view”. This type of lens is a fixed focal lens, also meaning it can not zoom in. Yes, this is a lens that you will start out with but it is a learning lens, it is for you to experience what photos look like in real time. This type of lens has advantages too, it is normally a faster lens, meaning the maximum aperture is very wide. Meaning pictures in a lower light with a faster shutter speeds. I suggest you do not knock the “average” until you’ve tried it!
Photo by: Chris Devers
Lenses

Lenses are a major thing you want to be worried about when taking photographs. Depending on what type of photo you are trying to take, what you want the viewer to feel/see. A couple of the main lenses you will be using will be; normal, wide-angle, and a telephoto lens. A normal lens will be the “average” lens used when taking photos, this will be a 35 millimeter – 55 millimeter lens. This lens is meant for a “natural” look under normal viewing conditions. A wide-angle lens is when the focal length is smaller than the focal length of a regular lens. This would allow for more of the scene to be in the photo, when you (as the photographer) can not be moved far enough back to capture this extra scenery. This would be a 18-55 millimeter lens. A telephoto lens is a narrowing lens, which is smaller than a normal lens. This type of lens brings items from far away to the front, it extends the light path to create a long-focus lens in a much shorter overall design. The lens all depends on what the subject is you are photographing.
4. Depth of Field

Today is my little explanation of Depth of field. It is a fun way the photographer can “tweak” the viewers mind in a sense. This way of taking a photo is when you capture an image but blur everything around the image to make it the main focal point. For example; in this photo above one will see many flowers but only few clearly, while the rest are in blur. This focus is towards the middle of the flower patch, leaving the eye to assume what the front and back rows of blurred flowers seem to appear as looking very similar to the middle batch. This is a fun and interesting way to capture an image! Have fun and play around until you get something you love! 🙂
Photo by: JPBWright
3. Exposure
Exposure is determined by the shutter speed and aperture; it is the quantity of light reaching the film or digital film (in most cases today it will be digital). If your shutter speed and aperture match with the right exposure, you would come out with a “perfect” photo essentially. In exposure you have “overexposed” and “underexposed”.

Overexposed is when there is a loss of highlight detail, meaning when important bright parts of an image are “washed out” or effectively all white, known as “blown out highlights”.

Underexposed is when there is not enough shadow detail, when important dark areas are “muddy” or indistinguishable from black. The photo is not lit properly, causing all detail to fall to the waist side, or known as “blocked up shadows”.

Perfect Exposure will look something like this photograph. You can see how it has perfect highlights along with the right amount of shadow, low lights. This brings out the right amount of the mountains in the back, still showing detail of the clouds in the mountains. It also shows the clouds at a perfect freeze in time, while smoothing out the “death” look in the grass (it being brown/dead like), and creating enough light to lighten the cabin just enough due to its dark exterior.
Photos by: agent j loves nyc ; hpulley ; and Stuck in Customs
2. Shutter Speeds


The shutter speed is also known as how fast the camera is opening and closing to take the desired photograph. The faster the shutter speed is the more photos it will take at one time. This can mostly be done by holding down the main function button (the button to take the photo). If you are desiring a slower shutter speed you would most often select it to suggest movement in a still photograph of a moving subject (ex: waterfall). If you are desiring a faster shutter speed you would most often select it to suggest a moving subject to appear unnaturally frozen (ex: basketball player jumping in the air to take a shot). This will all depend on what you as the photographer wants to capture to your audience, or which type of audience you are trying to portray. Depending on which ISO (sensitivity to light), Aperture (F-Stop), and shutter speed (time) the photographer uses will make or break the image; there is only so much one can fix in photoshop! It’s all about taking the photo not editing it! Remember that! 🙂
Photos by: Kevin Keatley – MD Wildlife Watching Supplies and dashavolnoukhin
Number 1. Lighting
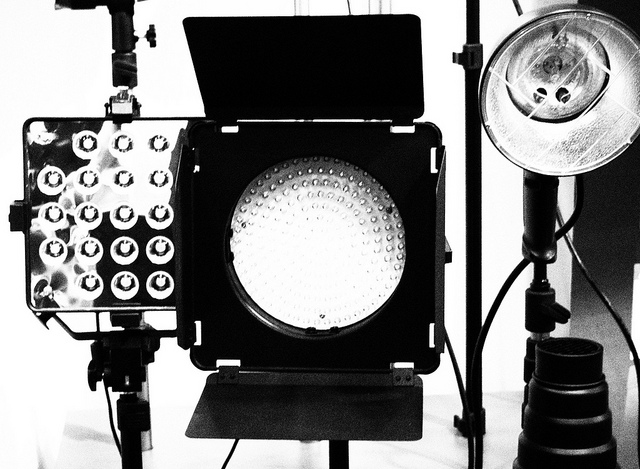
Lighting is the number 1 thing to be thinking of when you are taking a photograph. If the lighting is poor, you will most likely not be able to get the shot successfully! (Hey we all want GREAT photos!) Lighting can be done in many different ways. There is outdoor natural lighting – which is when a photographer only uses the sun as light, nothing else. There is also studio lighting which includes; Split, Loop, Rembrandt, and Butterfly. Split lighting splits the face exactly into equal halves with one side being in the light, and the other in shadow. Split lighting tends to be a more masculine. Loop lighting is made by creating a small shadow of the subjects nose on their cheek. To create loop lighting, the light source must be slightly higher than eye level. Rembrandt lighting is done by the triangle of light on the cheek. Unlike loop lighting where the shadow of the nose and cheek do not touch, in Rembrandt lighting they do meet which, creates that trapped little triangle of light in the middle. Last but not least, Butterfly lighting. This type of lighting creates a butterfly look under the nose by placing the main light source above and directly behind the camera. It is most often used for glamour style shots and to create shadows under the cheeks and chin. So many options, right?! The trick is to look at the subject to see which type of lighting “favors” them.
Photo by: the angel of the waters
4 Key Components for Beginning Photographers
Photography is an always changing and transforming field, but these 4 key components are sure to stick with you through out your photographic life. The main things to always remember are; lighting, shutter speed, exposure, and depth of field. Lighting for instance is what will make your whole photo, whether it be studio “hot lights” or natural lighting from the sun. Lighting and exposure go hand in hand to show a photo properly exposed with no over exaggeration. The shutter speed will be how fast the camera is taking the photo, per seconds. (ex- 1/1000 of a second) The depth of field will then show you which type of emotions/figures you would like portrayed. For example; if you would like to take a photo with a wide angle lens, the more millimeters you zoom in the more you can bring the image to the for front. These are just a few of the first couple key components for beginning photographers to become successful! 🙂
